If you have ever made your own printed circuit boards (PCBs) at home or the taught how photoresist is used when making PCBs in school, then I believe that this video will be useful to those who know what it means. Photoresist is used to transfer traces on the photomask. It works like magic! Once you have finished with your board, clean off the excess photoresist. This is where photoresist stripper plays its part. It removes any excess photoresist so your board is ready to go.
If you want to remove the remaining photoresist from your PCB, a chemical solution called a photoresist stripper can help dissolve and in turn lift it away. It cleans your photoresist. Sort of like having a high purity cleaner with only photoresist in it! Nonetheless, selecting a safe solution that is not aggressive on your board. Naturally, you want your PCB to remain in good conditions. Our photoresist stripper solutions strike the perfect balance of strong and safe – in other words, you get ones that work great and are gentle on your board. And also we have provided lots options, you can choose according to your requirement.
So even when you have a decent photoresist stripper, because with just one or two tries it should be able to strip off everything good and clean — using the proper techniques will help in ensuring nothing is front behind this phase. Tips For Successful Photoresist Removal
Do not over or under apply the product: possibly effecting its efficacy. Or, if you under apply it may not take everything away. However, if you use an excessive amount, it could prove to be a waste of the solution. And ONLY use all the amount tendered carefully in each service.
Spread it evenly: Make sure that the solution covers every part of your board. You will need either an applicator brush or a spray bottle. Be sure to expose the entire board so no photoresist is left. This will enable you to achieve optimum results.
Be patient: Various photoresist strippers operate at different times, so make sure you follow the packaging careful instructions. Take your time so ensure that you remove all of the photoresist. The trick to having a streamlined board is waiting the appropriate amount of time.
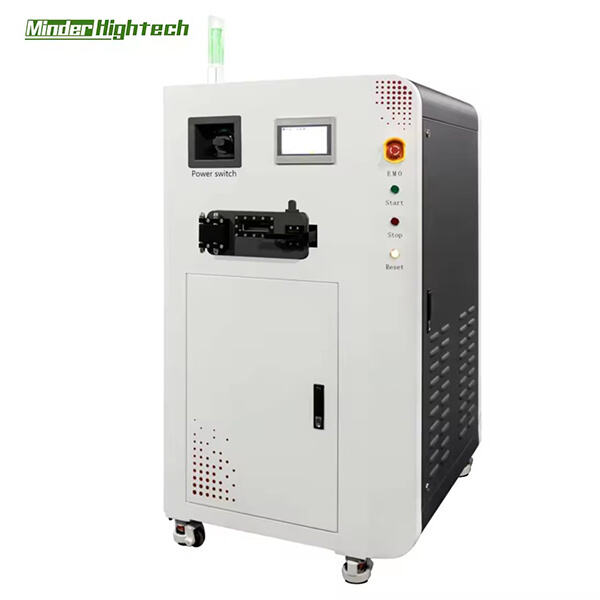
This process is compounded by the need to scrub every little bit of photoresist off, and ultimately it helps you put your board back to the handsomely unsullied state they arrived in. Nobody wants a dirty board! Our photoresist stripper solutions clear the board fast and, when activated with a steam generator at 50-70 degrees Celsius within seconds of application, your board will be sparkling clean to start again.
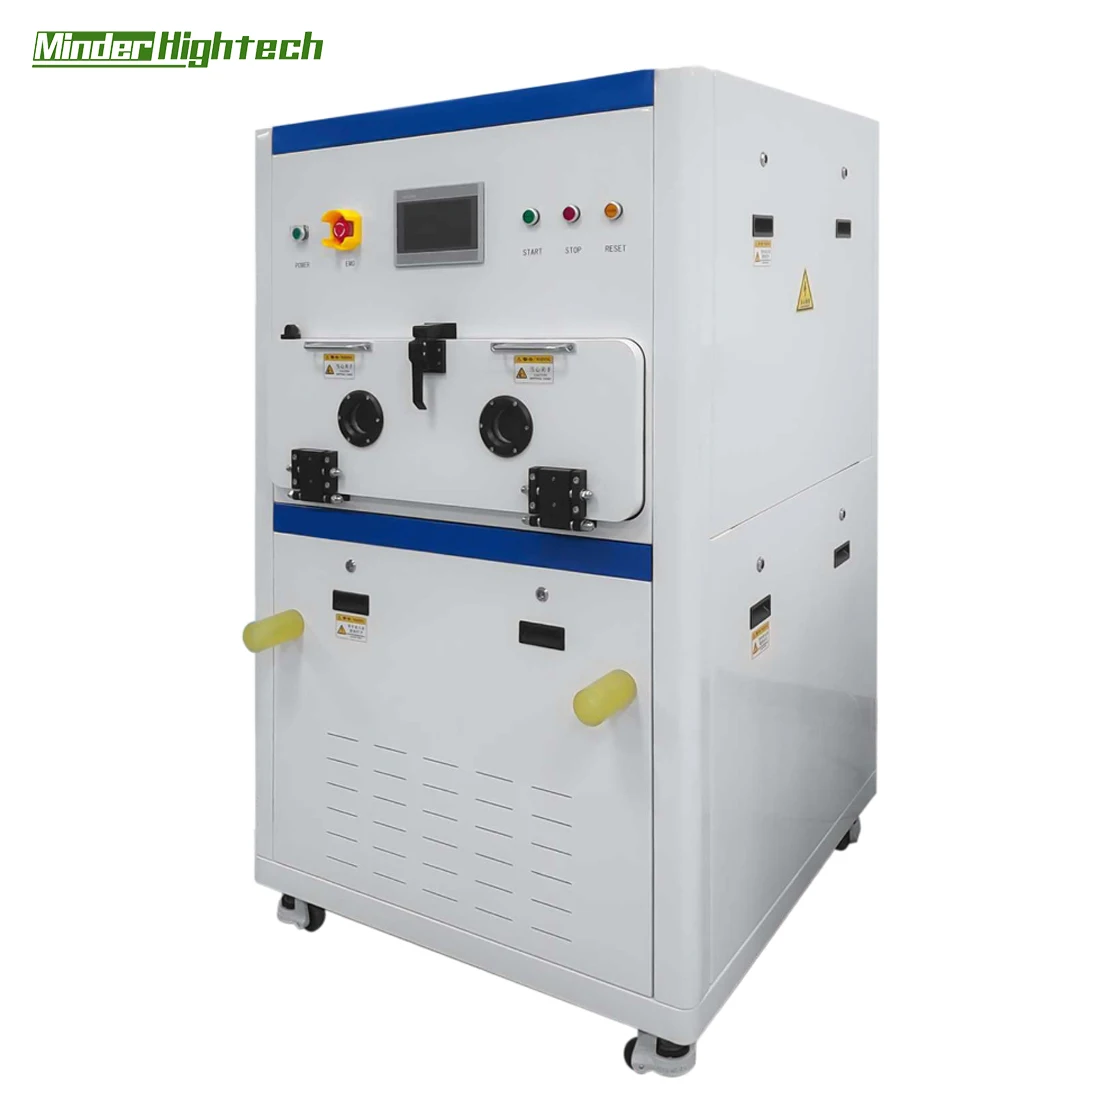
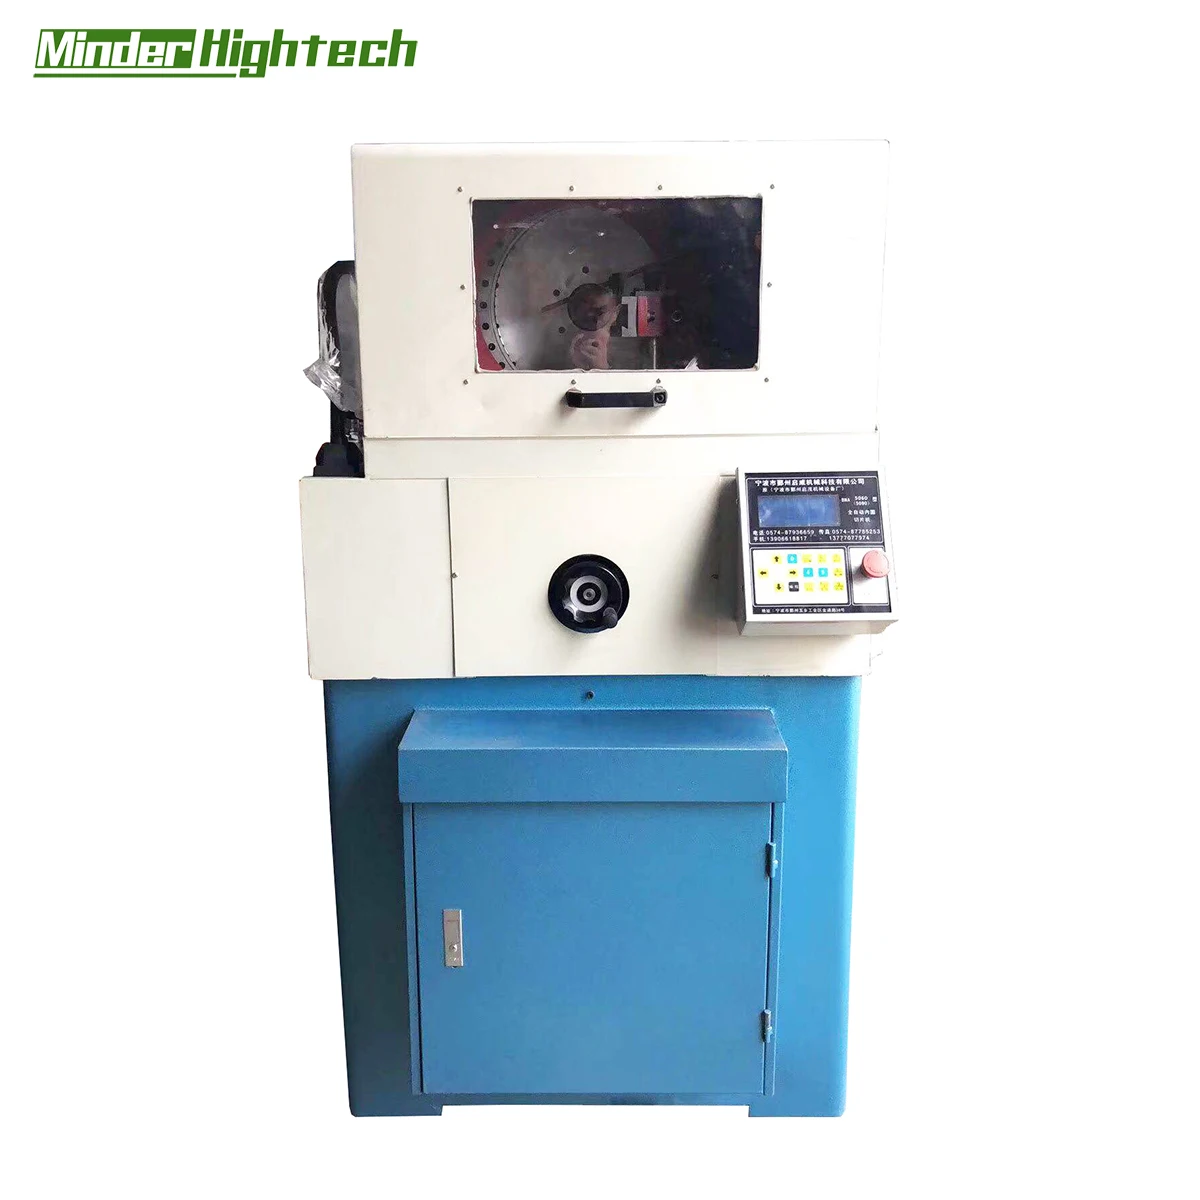
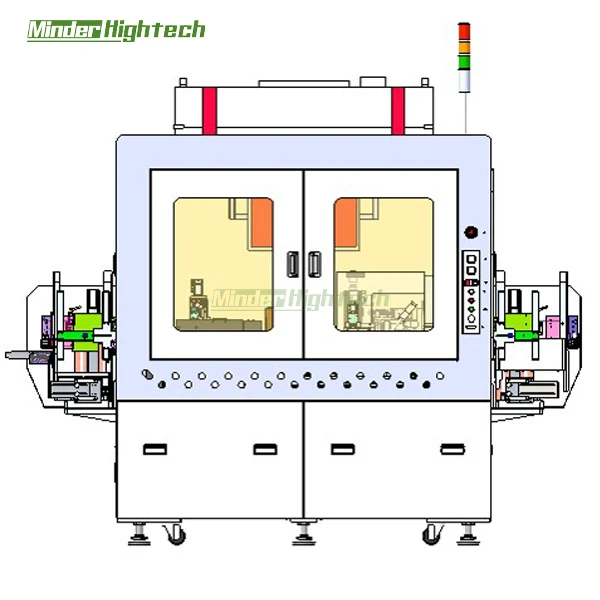
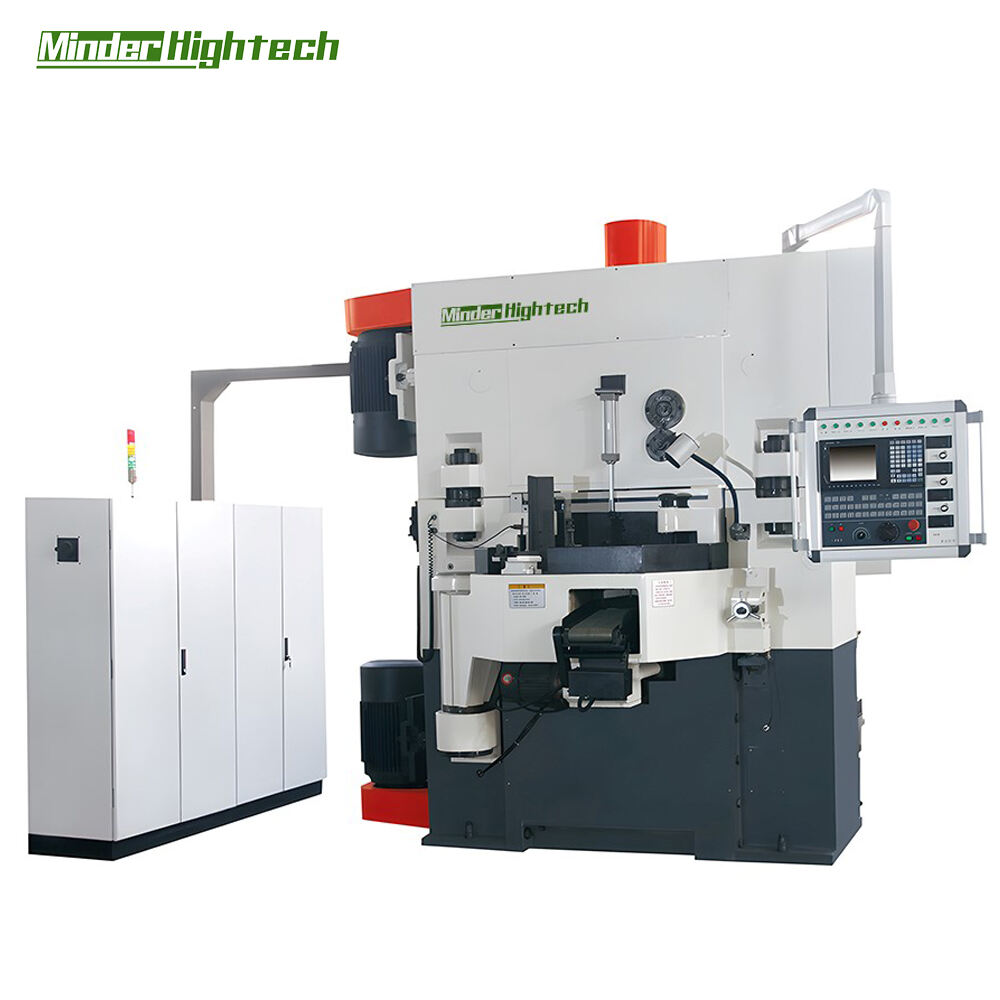
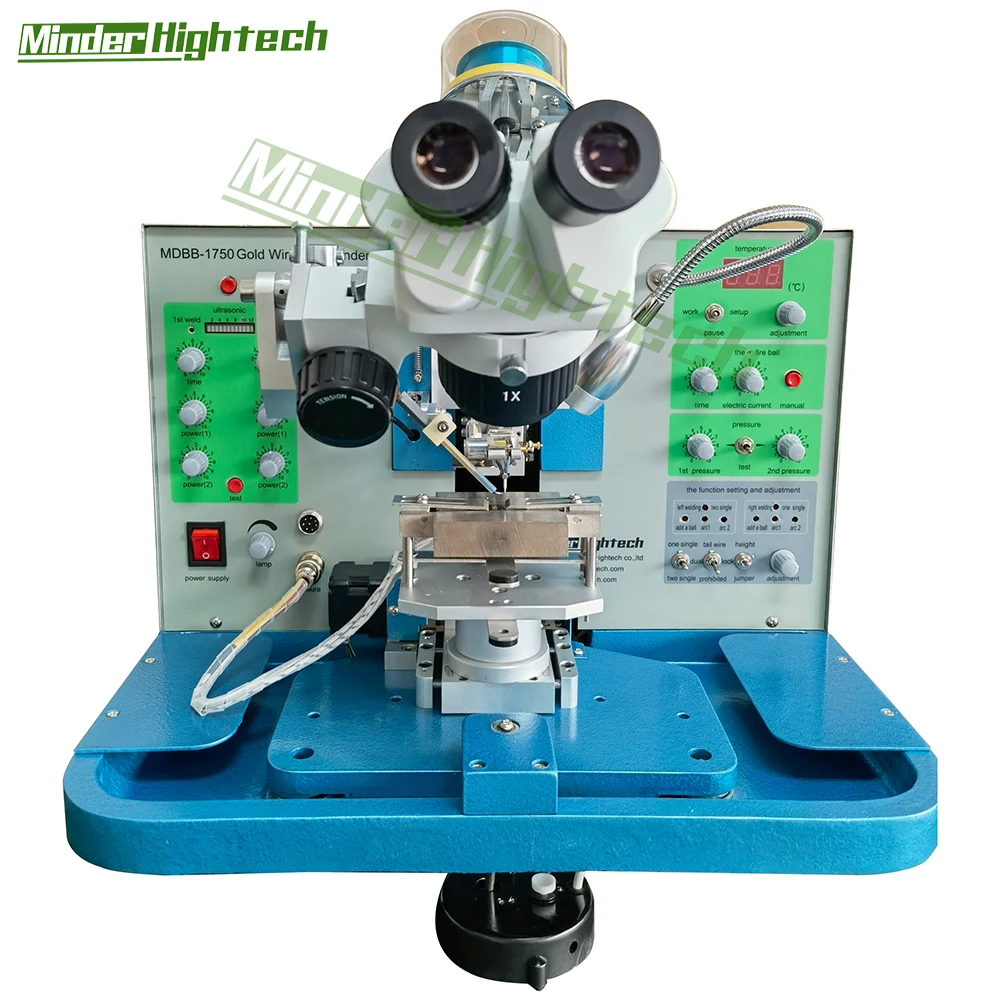
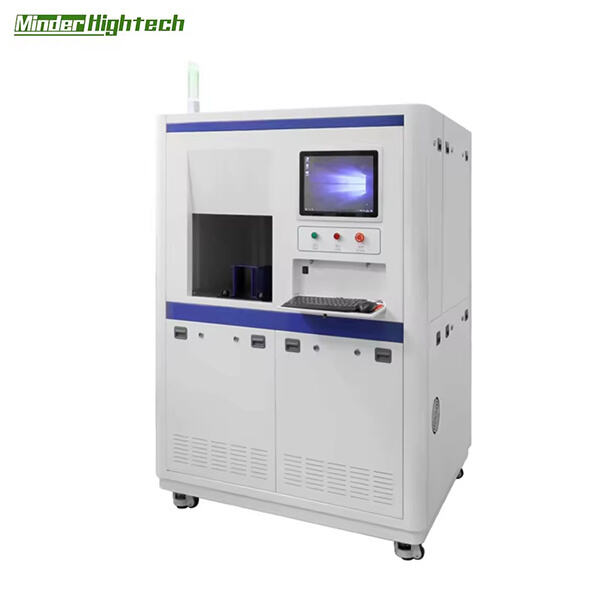
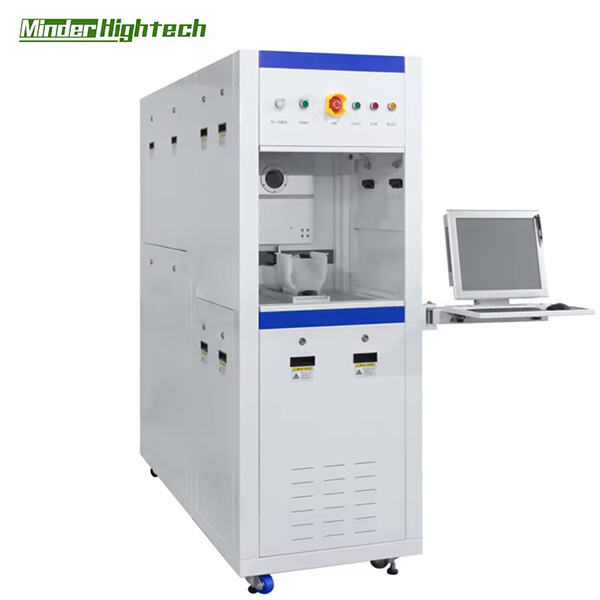
We offer a range of products. Photoresist stripper examples include Wire bonder and die bonder.
Minder-Hightech is sales and service Photoresist stripper of electronic and semiconductor product industry equipment. We have over 16 years of experience in sales and service for equipment. The company is committed to providing customers with Superior, Reliable, and One-Stop Solutions for machinery equipment.
Minder-Hightech has become a well-known brand in the industrial world, based on years Photoresist stripper machine solutions experiences and a strong relationship with overseas customers from Minder-Hightech, we created "Minder-Pack" to focusing on the manufacturing of packages solution as well as other high-value machines.
Minder Hightech comprises a team of highly educated engineers, professionals and staff with exceptional expertise and experience. The products we sell are being used in many Photoresist stripper all over the world, helping our clients improve their efficiency, cut costs and improve their product's quality.
Guangzhou Minder-Hightech Co.,Ltd.
Copyright © Guangzhou Minder-Hightech Co.,Ltd. All Rights Reserved
 EN
EN
 AR
AR
 BG
BG
 CS
CS
 DA
DA
 NL
NL
 FI
FI
 FR
FR
 DE
DE
 EL
EL
 IT
IT
 KO
KO
 NO
NO
 PL
PL
 PT
PT
 RO
RO
 RU
RU
 ES
ES
 SV
SV
 TL
TL
 IW
IW
 ID
ID
 LT
LT
 SR
SR
 SL
SL
 UK
UK
 VI
VI
 ET
ET
 HU
HU
 TH
TH
 TR
TR
 FA
FA
 AF
AF
 MS
MS
 GA
GA
 IS
IS
 HY
HY
 AZ
AZ
 KA
KA